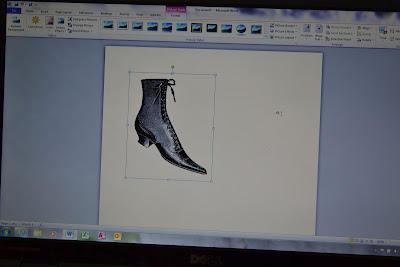
First you need to have an image you want to transfer. I find a lot of things on The Graphics Fairy. Be sure to read her terms. Karen has new images daily! You can do a search on her site to find what you want. And they are FREE!
I put vintage shoes in the search box. You put whatever you want. There are hundreds, maybe thousands of images to choose from! Of course, you can use an image from other sources -- just be sure it is copyright free!
Isn't this high top boot cute? Let's use it!
Open a Word document.
Insert the graphic. Hint - I save the image on my computer when I find it, but you can copy it to insert the image in the Word doc. by right clicking on the mouse, choosing copy and then paste in the Word doc.
Enlarge to the size you want for your project. I usually try to put a lot of images on the same Word doc because the transfer paper is expensive and I hate to waste it. When I do this, sometimes I print out the images on plain paper and arrange them before I print on the transfer paper.
Remember if words are in the image, they MUST be mirror image BEFORE you print. That would be another tutorial telling how to do that.
I use Avery Transfer paper for light fabric. There may be other brands, but this is readily available at an office supply store.
Print the image. Note that the toe is pointing to the right at this time.
Using paper scissors, cut out the image close to the outline. If you don't you will have excess film on the fabric when you finish the ironing process.
Place the image on the fabric where you want it. Note, the toe is now pointing to the left. (This is why the words have to be mirror image before you can print them out or else they will be backwards!)
Using both hands and a HOT, DRY iron -- NO STEAM! Press down and hold for 10 seconds or more, making sure you do this on every inch of the image. Sorry, no photo - I didn't have another hand!
Sneak a peek to see if it is transferring well. If not, continue to firmly press down on all areas of the image.
When the image has transferred well, peel all of the paper off.
If you have been successful in the transfer, there should be no ink left on the transfer paper.
And there you have the finished image. You can now make it into whatever you wish. I'll be making another travel shoe bag, but I've done this many times for pillows, my Kindle cover, a lamp shade, a small bag, etc.
Have fun playing!
XOXO
Lois


No comments:
Post a Comment